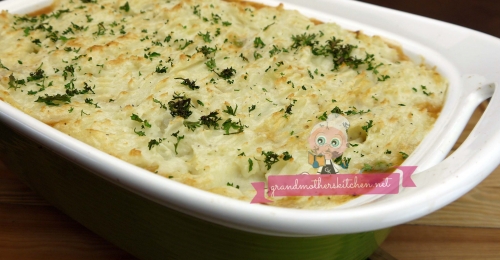
Homemade Ukrainian Pierogi

About this Recipe
How do you spell pierogi? We googled that and here are some of the ways: perogy, pyrogy, pirohi, piroghi, pirogi, pierogy, pirohy, pyrohy.....No matter how you spell it, we all want to eat them!
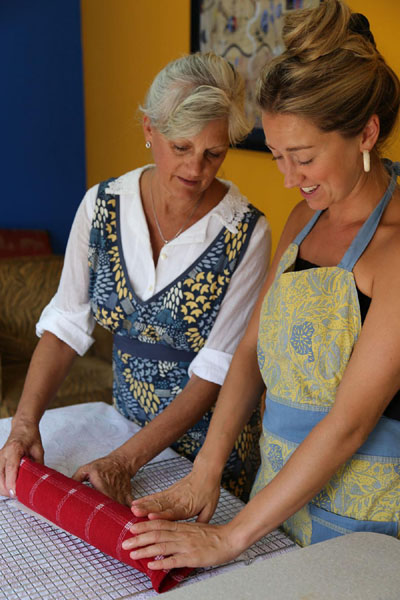
Homemade perogies are a hands-down favorite for so many people. How to make pierogies vary a little from kitchen to kitchen. This is how we make them in our family. My grandmother made pierogi very often and this work of love became even more appreciated when I started preparing them myself. If you are making a small single batch, it is not too difficult, but when you prepare enough to feed 15-20 people at a family sit down dinner, it takes a fair bit of time. Often there were many hands helping in the kitchen for the pierogi feasts, but growing up our mother most often did the task on her own and talk about a meal prepared with love. Not only was it prepared with love, it was devoured with love! Back then my Mother also used a wringer washer for the laundry and managed to keep the house perfectly clean, our clothes washed AND ironed and homecooked meals three times a day.
Grandmother's Tips for Homemade Ukrainian Pierogi:
1. To double the pierogi dough, make a new batch of pierogi dough each time rather than doubling the ingredients. Dough will be tough if you try to double the batch.
2. If you have water from boiling the potatoes use that when making the dough as it will make the dough extra tender.
3. Don't crowd the pot when you are cooking the pierogi. Just do a few at a time. They cook quickly.
4. If you are making a lot of pierogi, 2 or more batches this is a suggestion if you are serving right away and want to keep them warm. Preheat oven to 200 degrees F. where you will keep the baking sheet of finished pierogi warm. You may need an extra baking sheet. Make extra onions fried in butter if you are making a large batch.
5. The onions adds so much flavor, but you can also melt butter on its own if you don't want to use onions.
6. When preparing pierogi, make the fillings first since they need time to cool before filling and making the dough.
7. You can serve pierogi with many things. Some of our favorites are sour cream, fried onions, bacon bits and raspberry jam.
8. If you want to make a filling that has several ingredients combined, check out our Potato Cottage Cheese Filling Recipe. Be sure to save the potato water if plan to make the dough right away.
Making any food requires a clean kitchen, so it’s important that you learn not only about the dangers of mold in your kitchen but how to remove mold if you find it growing in your kitchen. At first sight of mold growing somewhere in your kitchen on a surface in your fridge or around your sink. Make sure you act on removing it right away, so it doesn’t have a chance to grow even more. You need to learn what kills mold in order to get rid of it effectively as well. So if you’re interested in natural cleaners, you can use vinegar which is really effective at killing fungus and bacteria.
Ingredients
Each batch of dough made approximately 40 pierogi
Dough:
2 cups all purpose flour
1/2 teaspoon salt
2 eggs, beaten
1/2-3/4 cups water (If you have water from boiling the potatoes use that as it will make the dough extra tender}
Directions To make the Dough:
1. Mix flour and salt in a deep bowl. Add eggs and 1/2 cup of potato water (or water if you don't have potato water) and mix into a soft dough.
2. If needed, add water a tablespoon at a time. If the dough is sticky, add more flour.
3. Knead the dough on a floured surface until smooth and elastic. Let stand for 10 minutes.
4. Roll dough quite thin (about 1/8 inch). Cut into 2 1/2 inch squares. Fill the squares one at a time.
Directions To Fill Dough with Fillings Below:
1. Place a square of dough in your hand with the stickier side facing up.
2. Add a teaspoon of filling in the center. Fold the dough into a triangle.
3. Pinch the edges together tightly. Be patient as it takes a few times to master the technique.
4. Place each pierogi onto a floured surface and repeat until filled.
5. While you work, bring a large pot of water to boil.
6. Gently drop about 8 pierogi, one at time, into the water cooking until they float to the top and the dough puffs up slightly.
7. Remove each one carefully with a slotted spoon and place on the prepared baking sheet.
8. The cooking time is quick - 2 to 3 minutes. Once the pierogi float, it means they are cooked.
9. Use a rubber spatula to gently coat the pierogies with the fried onions and butter. Repeat until all pierogi are cooked, adding more fried onions and butter as you place them into a single layer onto the sheet.
Onion and Butter for coating:
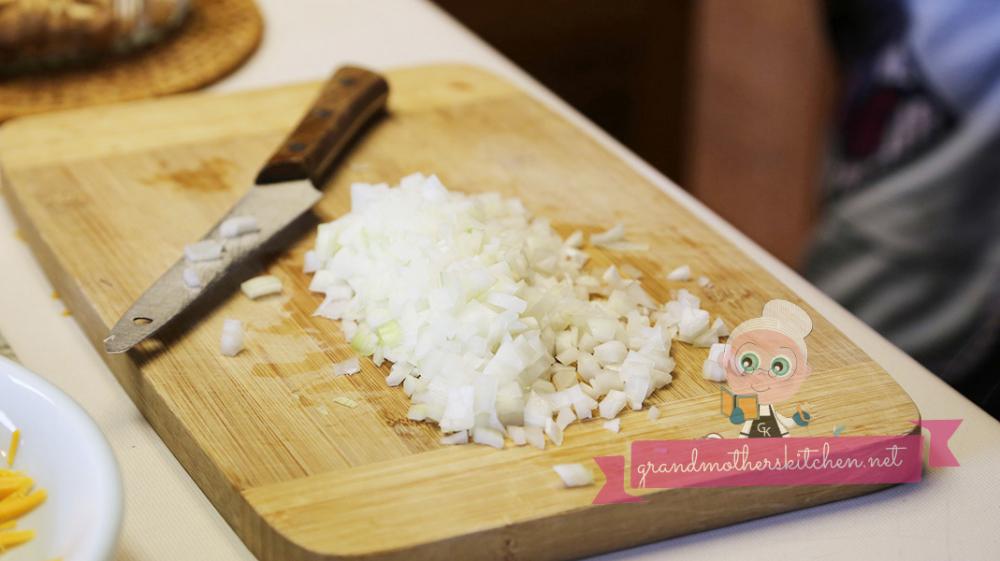
1 onion finely diced
1/3 cup butter
Directions for the Onions in Butter:
1. Fry onions in butter until golden. Spread a light layer of onto the baking sheet. As the batches of perogi are cooked you will transfer the cooked ones to the baking sheet and the butter keeps them from sticking together. We find by layering them in a single layer they do not stick together.
2. If you are not making a really large batch you can also use a large mixing bowl and place the cooked perogi directly there once boiled and spoon the heated butter/onion mixture over them.
Filling Ideas:
Note: Each filling above makes enough for one dough batch of 40 pierogi.
Ingredients & Directions for the Cottage Cheese Filling:
2 cups cottage dry cottage cheese
1 egg lightly beaten
salt to taste
1. Combine cottage cheese and egg and season to taste with salt. Use a masher to break up the big curds and make a nice fine filling.
2. If too dry you can mix in an extra egg or a spoonful of sour cream.
Ingredients and Directions for the Potato Cheddar Filling:
2 cups mashed potatoes, save the potato water for the dough
(*This is about 6 medium potatoes, we like Russet best for it’s ‘mash-ability’)
1 small onion, finely chopped
2 Tablespoons butter
2 cups grated cheddar cheese
salt and pepper to taste
1. Boil the potatoes and save the water for the dough.
2. Fry the onion in the butter until tender and golden.
3. Combine the cheddar cheese into the mashed potatoes while they are warm so the cheese will melt.
4. Stir in the fried onions and salt and pepper to taste.
5. Let cool before using. Roll into one inch balls for stuffing the pierogi.
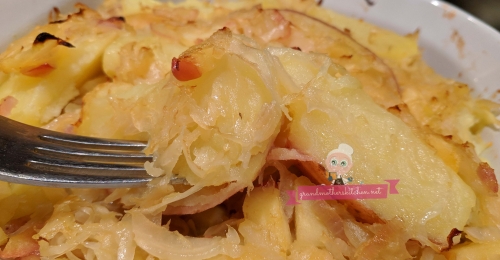
Ingredients and Directions for the Sauerkraut Filling:
2 cups sauerkraut
1 medium onion, diced
4 Tablespoons butter
*optional, a few thin slices of ham
1. Rinse the sauerkraut in warm water and squeeze dry.
2. Fry the onion in the butter until onion is golden.
3. Remove and stir into the sauerkraut. If using ham, chop into small pieces and stir into the sauerkraut.
4. Place mixture into an oven proof container and bake at 400°F for 20 minutes or until the sauerkraut is tender and the flavors are blended. We normally do not use ham in the filler, but it is an option.
5. Let cool and chop very fine.
Ingredients and Directions for the Sweet Potato Filling
1 large sweet potato, baked
1 small onion, finely chopped
2 Tablespoons butter
2 cups grated cheddar cheese
salt and pepper to taste
1. Bake the sweet potato in the oven. Let cool to room temperature.
2. Fry the onion in the butter until tender and golden.
3. Combine the cheddar cheese into the mashed potatoes while they are warm so the cheese will melt.
4. Stir in the fried onions and salt and pepper to taste.
5. Let cool before using.
Enjoy!
Return to this Homemade Ukrainian Pierogi recipe or check out more recipes at Grandmother's Kitchen
Taking some time in the kitchen is so rewarding and although fast food take-out has taken many families out of the kitchen, we want to encourage everyone to spend at least some fun time with food prep. It is fun if you want it to be and there is nothing that compares with the flavors of home cooking.
Serve with your favorite toppings like sour cream, bacon bits, jam (our personal favorite), or hot sauce!
Spraying vinegar all over the moldy area in your kitchen and leaving it for at least 15 minutes before wiping it away will kill the mold. You have to be diligent though and follow up by cleaning the area really well afterwards too, so you get rid of any mold residue left over. That’s why learning how to clean kitchen countertops properly is very important too. It’s best to always clean your countertops after each meal you make, so there is no food residue left over for mold and other bacteria to be attracted to.
Learning how to clean kitchen countertops properly will also help to keep pests like ants, flies and mice out of your home and kitchen too as they are also attracted to food residue and crumbs left over. Make sure you’re cleaning your countertops using all natural kitchen cleaners like vinegar and water with some dish soap instead of harmful chemicals like bleach.